Contents - Quick Links
Creating the Creator Prefab
We now have the Spawner script that can instantiate prefabs on the scene when a new player joins the server, but the variables that say to Unity which prefab to spawn are not yet assigned. You can assign public variable by drag and drop from the Hierarchy panel into the Inspector panel, all that we need now are the player avatars prefab to spawn. I created some player avatar 3d models with makehuman that i will be using :
- Download HERE my makehuman player 3d model unitypackage and import it in your project or use your own 3d model
- We will need to build the Creator prefab that will be instantiated by the Spawner script. Drag and drop the 3d model you imported from the Project panel into the scene, as we will configure it there.

- In the Hierarchy panel will appear a new gameobject named as your 3d model’s name, rename it to CreatorPrefab. This Gameobject has now only the Transform and Animator components, we will need to add more components to enable network authoritative features.
- We need now to enable movement synchronization between the client and the server, this is not complex but we need to go trough steps. For this simple unity multiplayer authoritative server tutorial we will use script included in uLink by default.
- Add to the CreatorPrefab gameobject in the server scene the component uLink Smooth Character ( Component->uLink Utilities->Smooth Character ).It will automatically add two required components to the gameobject, a character controller and a uLink Network View. In authoritative server mode this script makes that the owner (controlling this object) sends unreliable Move RPCs to the authoritative server with a rate dictated by
uLink.Network.sendRate. The authoritative server receives this RPC and moves the character. We will see that the observed property of the uLinkNetworkView of all three prefabs instantiated by the Spawner script are to be set to uLink Smooth Character. This is a utility script that is very handy. It works in both authoritative servers and non authoritative and makes the movement of opponents’ avatars smooth.
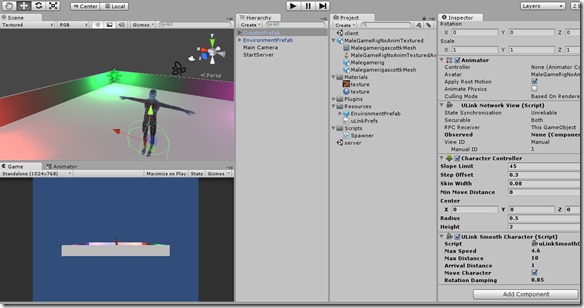
- The observed property of the uLinkNetworkView for the CreatorPrefab gameobject should be set to the Smooth Character component. Drag and Drop the uLink Smooth Character (Script) inside the Observed property of the uLink Network View component and you should end up with the Inspector panel displaying as the following image :

- If not so remember to set the View ID to Allocated
- The last thing to modify for the CreatorPrefab is the Center Y property in the Character Controller component, insert the value 1 in the field as it will level the character collider to fit our 3d model and won’t make it fall trough the floor.

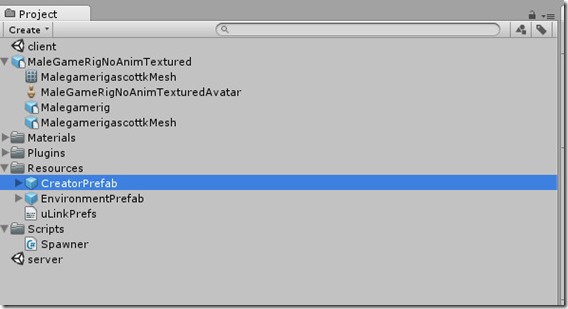
- Our CreatorPrefab gameobject is finished, we need to save it as an actual Prefab, just Drag and Drop it from the Hierarchy panel into the Project Panel inside the Resources folder as we need it to be accessible by Unity, you can now delete safely the CreatorPrefab gameobject in the scene.


Nice article!
Some details on “Handover” would be cool.
I have tried tow ork on this. Somehow my client is stuck in “Instantiating”. I am able to move it though but without any effect on the server. The model seems to come back to the spawn point after any movement in the client.
Hi ! Do you use the same Unity and uLink versions of this tutorial? I should check and validate this tutorial also with the latest versions. However the issue you refer to is something i recall experiencing while i was coding, the server is overwriting the transform component, please check your project ,every option of the creator owner and proxy objects should match the tutorial.
Meanwhile i will review the tutorial to check for bugs, maybe we can sort out your problem together.
Also after a quick look i added a page with a video of the final result you should get, and a link to the project and compiled files. Carefully check the uLink Network view component options of the Proxy, Owner and Creator gameobjects.
Thanks for your comment !
I could not switch from manual view id to allocated until i had draged the creator prefab into the project folder! just a heads up for anyone who might have the same problem.